Quickstart
Imagine that you work for a company that runs a web store that sells to customers and businesses. You want to analyze web traffic to your store to better serve customers and manage inventory. You have a system that collects web logs, but you want to improve the process for more efficient storage and analysis of the data.
This quickstart shows you how to add web logs to Imply Lumi using the file upload feature, and how to view and query events. See File upload reference for more details on file upload.
The following diagram summarizes the end-to-end process of uploading a file to Imply Lumi. Shaded boxes represent steps taken within Imply Lumi, and unshaded boxes represent steps taken outside Imply Lumi. Click any box in the diagram to jump to that step.
Prerequisites
Before you can get started with Imply Lumi, you need the following:
- Access to the Imply Lumi UI with the Data manager role or higher. Contact your Imply representative to set up your account.
- One of the following supported browsers:
- Last three versions of Chrome, Firefox, Edge (Chromium version), Opera.
- Firefox ESR.
- Safari (desktop) 16 or above.
1. Download the sample file
The sample data file contains a few hundred lines of logs in an Imply Lumi compliant CSV file.
Download the sample data file: site_visitors.csv
See Example data for Imply Lumi tutorials for a full description of the sample data.
2. Upload the file to Imply Lumi
To upload the file:
- Select Integrations in the navigation menu.
- Select File upload.
- Click Select file and select the file you downloaded in the previous section.
- Imply Lumi loads a preview of the file:
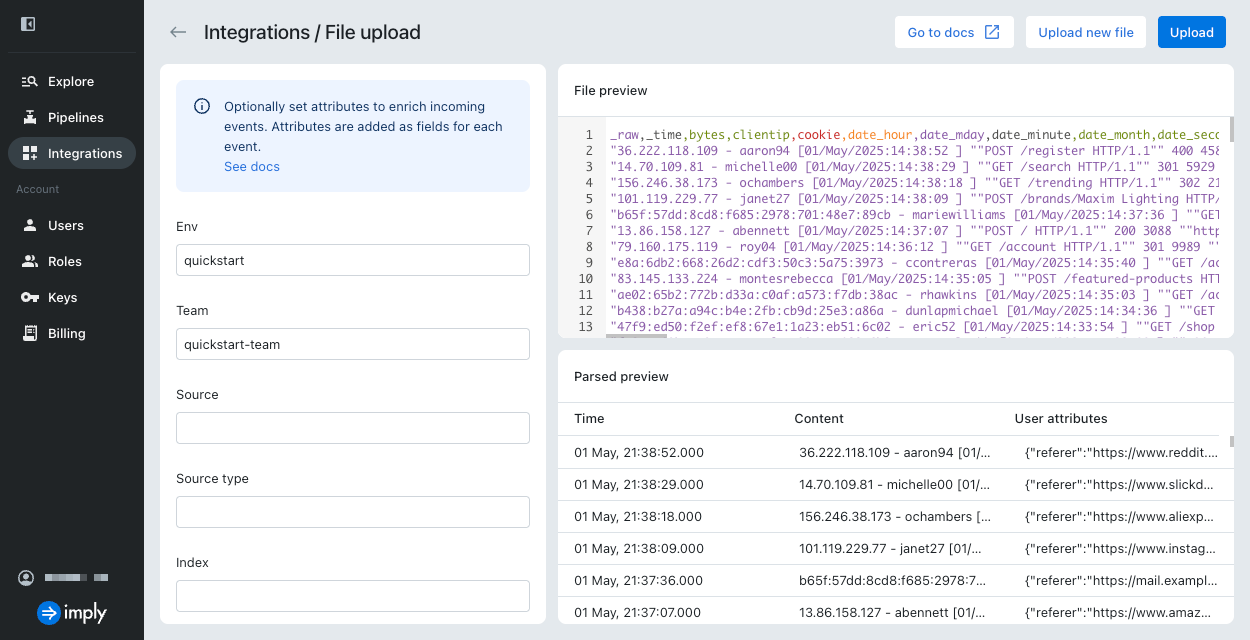
- Env and Team are system attributes. Enter
quickstartin Env andquickstart-teamin Team. - Source, Source type, and Index are user attributes. Entries in these fields are only used if they don't exist in the source event. They are already specified in the sample data so leave these fields blank.
- Click Upload.
- In the dialog that reads "File upload successful," click Go to Explore.
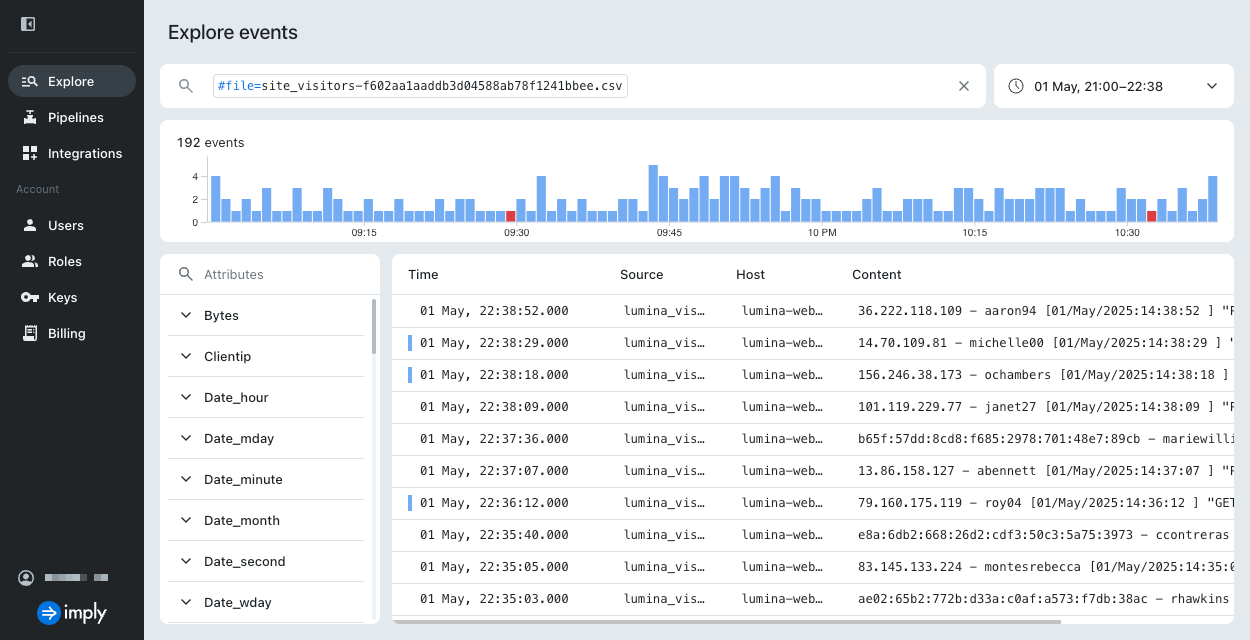
3. View events
The default explore screen displays all events in the uploaded file. The time range selector shows that the events cover the range 01 May, 21:00-22:38:
Add and rearrange some columns in the events list:
- Click the Content column heading and select Add column to the left. Add
user. - Click the Time column heading and select Add column to the right. Add
uri. - Click the Uri column heading and select Add column to the right. Add
method. - Click the Method column heading and select Move right.
4. Query events
Clear the search bar and enter the following queries one at a time to locate some specific events:
uri=/trending host=web-01
finds events with the specified uri and host.
user IN (aaron94,roy04,rhawkins)
finds events for three specific users.
uri!=/register
returns events that don't include the specified uri.
(uri=/search AND user=michelle00) OR method=POST
locates events that contain the specified uri and user, or contain the specified method.
#status=notice
shows events where the system attribute status contains the specified string.
For details on supported syntax and search limitations, see Search for events with Imply Lumi.
Learn more
See the following topics for more information:
- Tour Imply Lumi for an introduction to the Imply Lumi UI.
- File upload reference for more details on file upload.
- Event model for information on the components and attributes in Lumi events.